Zoom Closed Captioning: How to Caption & Subtitle Zoom Meetings and Recordings
Learn how to add closed captions and subtitles to Zoom meetings, recordings, webinars, video conferences, and more. Captions are great for web accessibility.
The popularity of remote meetings, webinars, and video conferencing has led to an incredible rise in popularity of Zoom Video Communications. The recent COVID-19 pandemic has further emphasized the importance of being able to hold remote meetings and conferences.
The Zoom software is fairly easy to use, but one frequently asked question is how to add captions and subtitles to Zoom videos, recordings, and meetings. Captions drastically improve video accessibility for deaf or hard of hearing meeting participants, and subtitles are essential for video conferencing participants who speak multiple languages
Rev is a global leader in transcriptions, captions, and subtitles and has you covered with Zoom closed captioning and subtitling.
How to Add Real-Time Automatic Captions to Zoom: Rev & Zoom Live Captioning
Want to add live captions directly to your Zoom meetings and calls? Rev just unveiled Zoom Live Captions, which uses our advanced world-class speech recognition technology.
Try Zoom live captions for free and get automatic Zoom live captions on all of your Zoom meetings & calls. See the video or click the link below for a full guide.
How to Add Closed Captions to Zoom Recordings
If you’re looking for 99% accurate captions done by human professionals, and you want to send out recordings of Zoom video meetings with captions, this is the best solution for you. This third party closed captioning service is great for large meetings with several participants, teachers and professors captioning lectures, and more.
Rev has a team of 50,000 professional transcribers and captioners who can get to work on your recorded video file immediately, 24/7. You’ll usually have your file back within 12 hours depending on the length of your video.
1. Record Your Zoom Meeting

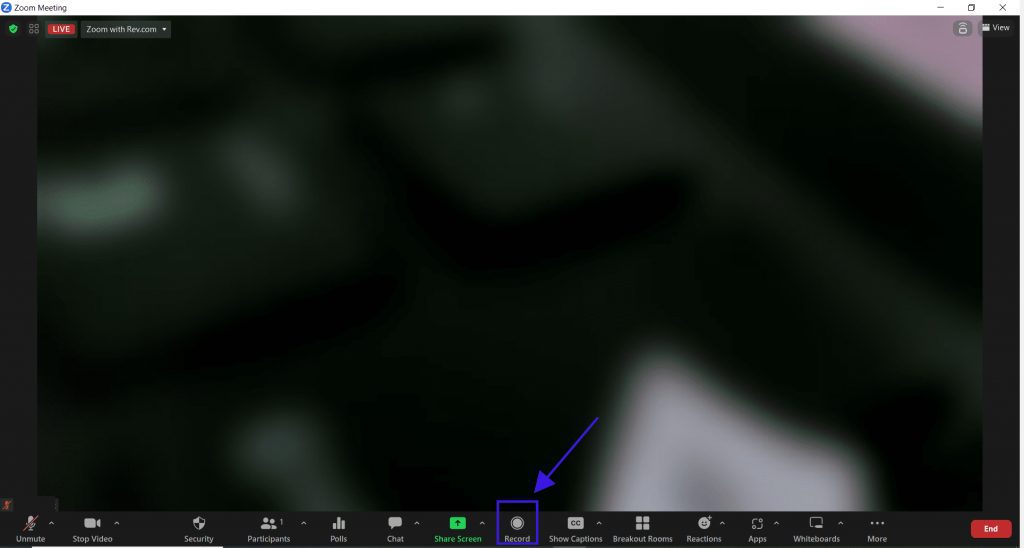
Click the “Record” button at the bottom of your Zoom meeting window, and the audio and video of the meeting will be recorded. After the meeting ends, you can click “stop” to end the recording and save the file to your computer.
2. Upload Your Recorded Zoom Video File to Rev.com

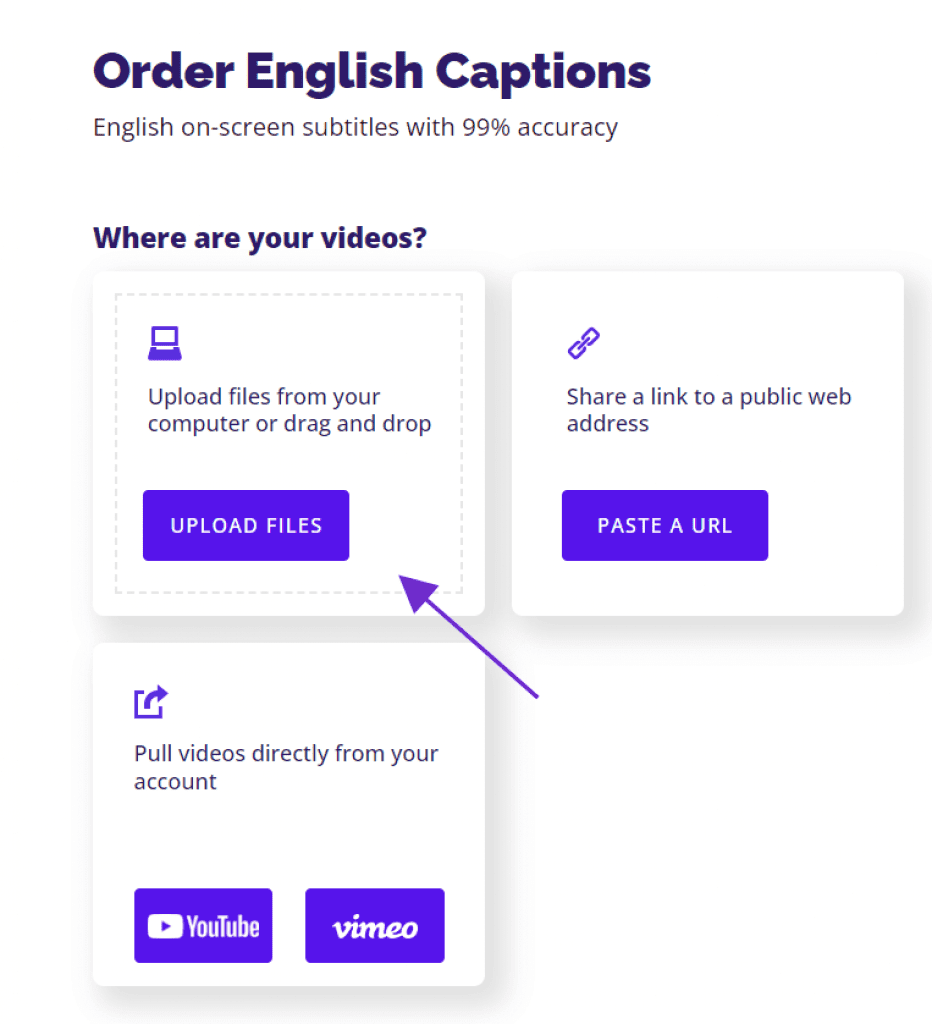
Go to the Rev closed captioning page and click “Get Started”. Click “Upload Files” and find your Zoom video recording. Click “Upload.” Then click “Checkout.” Your video will be captioned by Rev professionals in about 24 hours.
3. Download Your Closed Caption File and Add It to Your Zoom Recording Video
The most common download format is an SRT file, but Rev lets you download several different formats based on your video software and where you want to upload it. Here are “How to” guides for adding captions to videos in popular video editing software:
- How to Add Captions & Subtitles in Adobe Premiere Pro
- How to Add Captions & Subtitles in Final Cut Pro
- How to Add Captions & Subtitles in Handbrake (Handbrake is a free software we love)
If you don’t see your preferred software here, check out our full How to Add Captions & Subtitles to Videos Guide to see guides for more video editing tools, social media platforms, and more.
Rev now offers burned-in captions (open captions). Just check the “burned-in captions” box at checkout and you’ll receive a video with permanent, hard-coded captions added straight to your videos. Also available for foreign language subtitles!

4. You’re done! You have fully accessible video content you can post online or send anywhere
Pro tip: the process for adding foreign language subtitles is almost identical to the captions process. Visit our foreign subtitles page to order subtitles in multiple languages.
Subscribe to The Rev Blog
Sign up to get Rev content delivered straight to your inbox.


